Thinking about changing the locks on your Kwikset door? Maybe you’ve moved into a new place, or perhaps you just want to make sure only certain people have access. Whatever the reason, learning how to rekey a Kwikset lock yourself can save you time and money. It’s not as complicated as it sounds, and with a little patience, you can get it done. This guide will walk you through the process.
Key Takeaways
- Rekeying your Kwikset lock is a practical way to update your home security without replacing the entire lock mechanism.
- The process involves carefully disassembling the lock cylinder, replacing the pins with new ones that match your new key, and then putting it all back together.
- Having the right tools and following the steps precisely will help ensure a successful rekeying job for your Kwikset lock.
Understanding How to Re-Key a Kwikset Lock
Why Rekeying is a Smart Security Choice
Rekeying your Kwikset lock is a really practical way to manage who has access to your home or property. It’s often a better option than replacing the entire lock, especially if you’ve just moved into a new place or if a previous tenant or employee no longer needs access. By rekeying, you essentially change the internal mechanism of the lock so that your old key no longer works, and a new key does. This is a great security measure because you can’t be sure who might have a copy of the old key. It gives you peace of mind knowing that only the new keys you’ve made can operate the lock.
Rekeying is particularly useful in a few common situations:
- Moving into a new home: You never know who might have a copy of the keys left behind.
- After a relationship ends: If you want to change access for a former partner.
- Employee turnover: When an employee leaves a business, rekeying ensures they can no longer access the premises.
- Lost keys: If you’ve misplaced a key, rekeying is a secure way to prevent unauthorized entry.
It’s a cost-effective solution compared to buying and installing entirely new locksets. For Kwikset locks, especially those with the SmartKey Security feature, rekeying can be a straightforward process that you can often do yourself. This allows you to maintain control over your home’s security without a significant expense. If you’re dealing with a Kwikset lock that has the SmartKey feature, you can re-key it using the SmartKey Learn Tool.
Essential Tools for Rekeying Your Kwikset Lock
Before you start the rekeying process, make sure you have the right tools handy. Having everything ready will make the job go much smoother. You don’t need a lot of specialized equipment, but a few key items will make a big difference.
Here’s what you’ll likely need:
- A Kwikset rekeying kit: These kits usually come with the necessary pins and springs for your specific lock model, along with instructions. Make sure you get a kit compatible with your Kwikset lock.
- A small screwdriver: A Phillips head screwdriver is typically needed for disassembling the lock cylinder.
- Tweezers: These are helpful for handling the small pins and springs inside the lock.
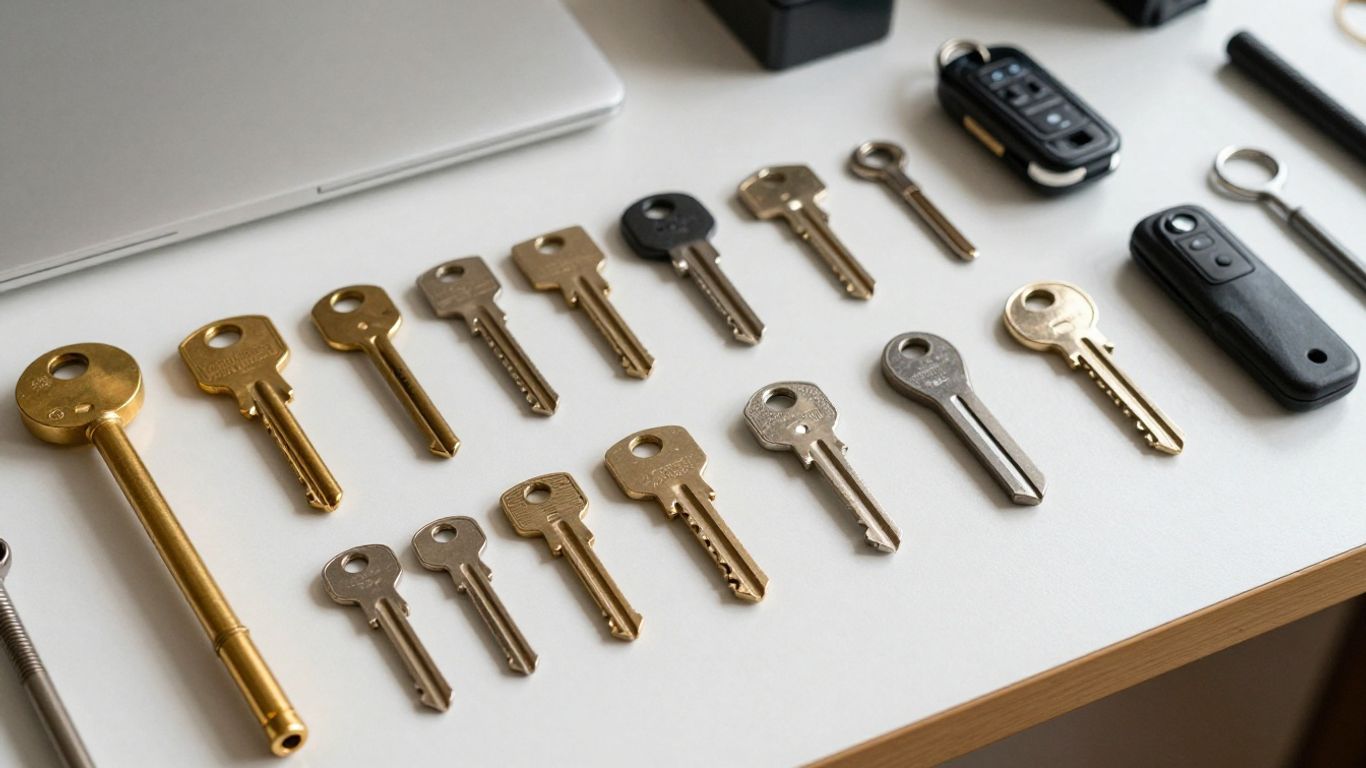
- A new key: You’ll need a new, uncut key that will become your new master key.
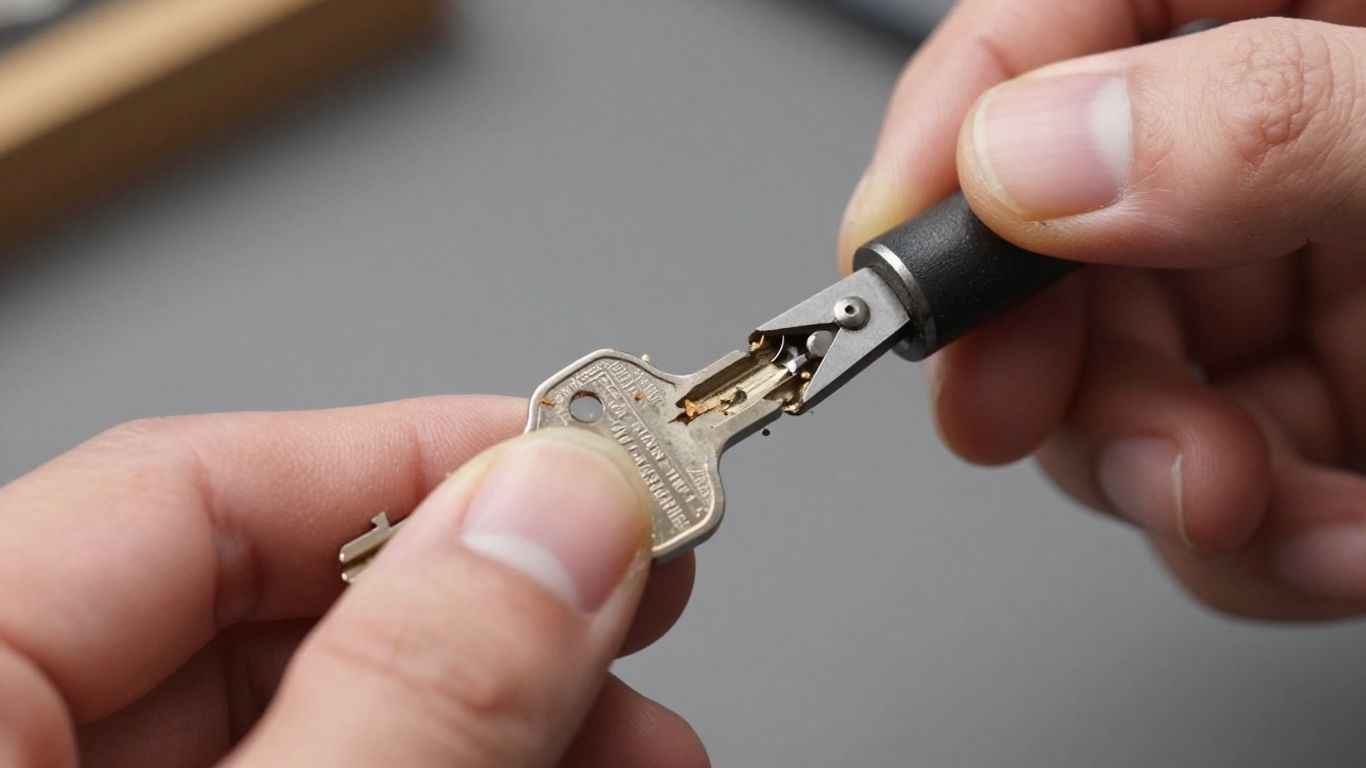
- A Kwikset SmartKey tool (if applicable): If your Kwikset lock has the SmartKey feature, you’ll need the specific tool designed for it. This tool helps in the rekeying process for those particular locks. You can find information on how to use a key and gauge to determine the correct step or cut for your key.
Having these items ready means you can tackle the rekeying project without interruption. It’s always better to be prepared than to have to stop midway through because you’re missing a small but important part.
Step-by-Step Guide to Rekeying Your Kwikset Lock
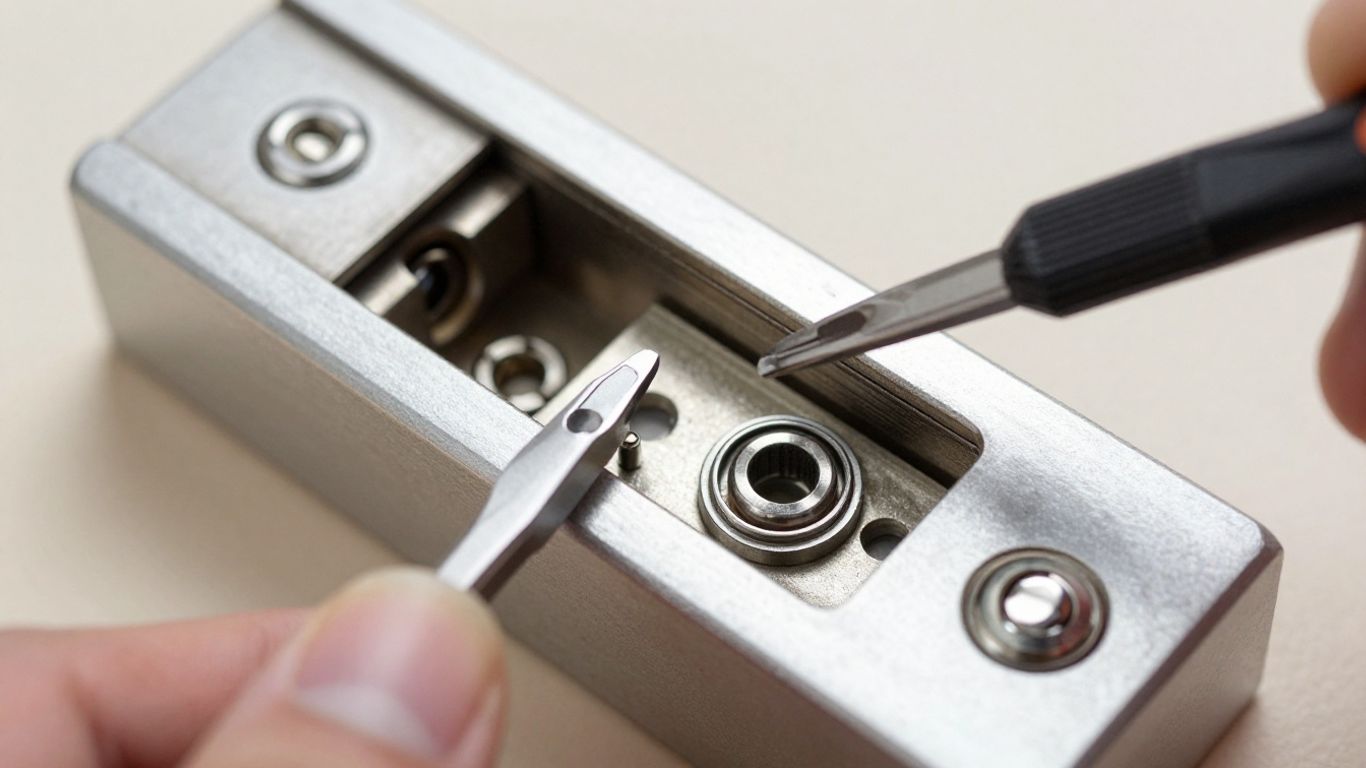
Disassembling the Lock Cylinder
To begin rekeying your Kwikset lock, you first need to take apart the cylinder. This process is pretty straightforward. You’ll want to make sure you have the correct key for the lock you’re working on. Insert the key into the lock cylinder and turn it about halfway. This action aligns the pins inside the cylinder, making it easier to remove.
Once the key is turned, look for the retaining clip or screw that holds the cylinder in place. On most Kwikset knobs and levers, this is usually on the interior side of the door. You might need a small flathead screwdriver or a paperclip to depress a small tab or remove a screw. Carefully remove this clip or screw. With the clip or screw out, you should be able to pull the lock cylinder straight out from the lock body. Be gentle; you don’t want to force anything.
Replacing the Pins and Springs
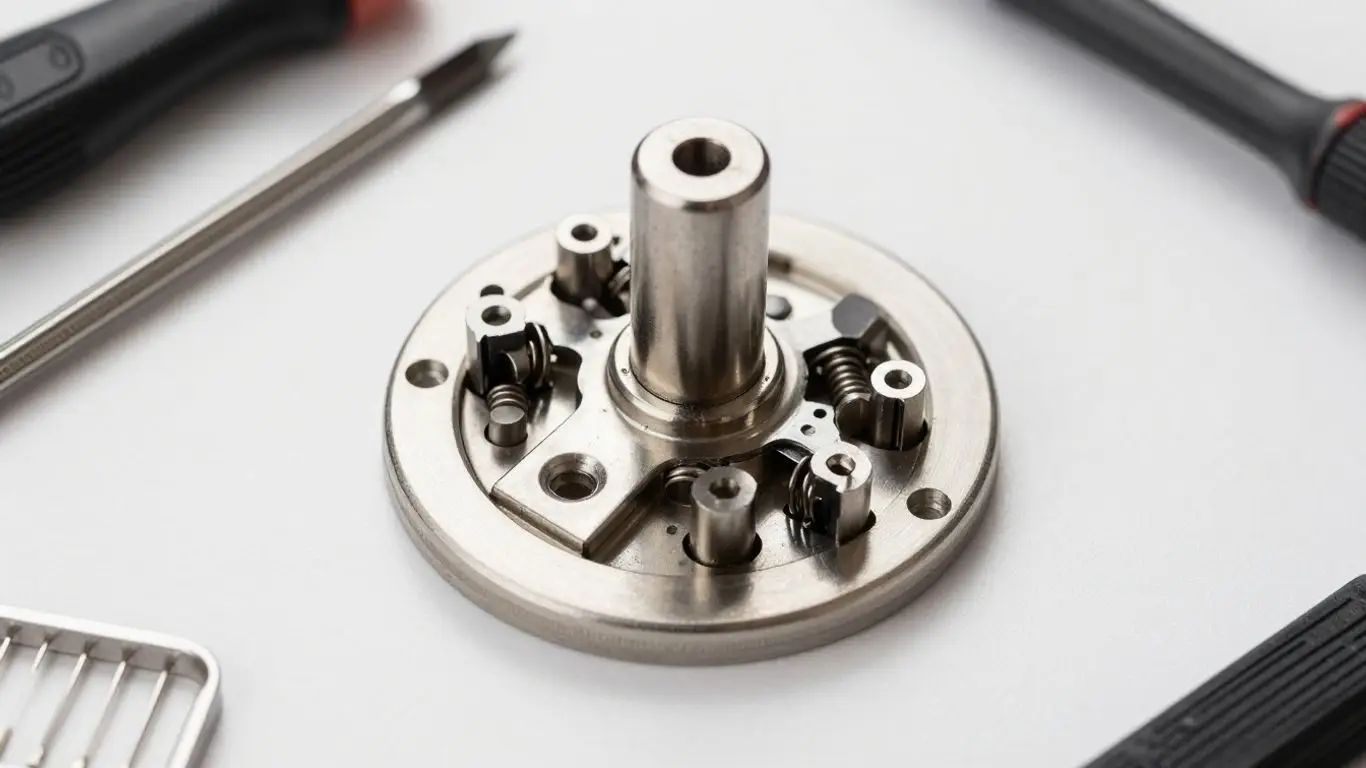
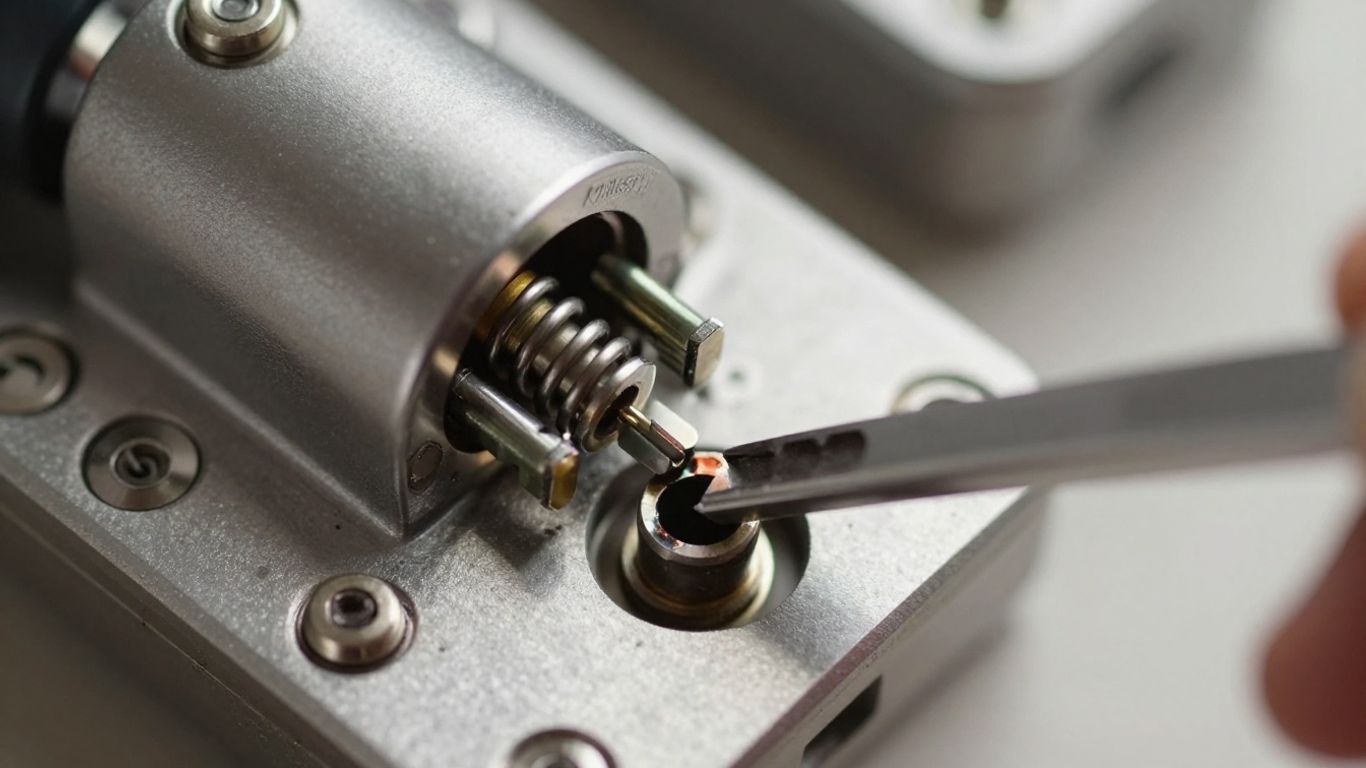
With the cylinder removed, you’ll see a small opening at the bottom, which is where the key goes. You’ll also notice a cam or retainer that needs to be removed to access the pins. This is often a small metal piece that can be slid or pried off. Once that’s off, you can carefully remove the plug from the cylinder housing. Pay close attention to the order and orientation of the pins and springs as you remove them. It’s a good idea to have a small container ready to hold these tiny parts so they don’t get lost.
Now, you’ll need your new key and the correct pin kit for your Kwikset model. The goal is to have the pins in the plug match the cuts on your new key. When the new key is inserted, the top of the pins should sit perfectly flush with the shear line of the plug. You’ll need to select pins of the correct size for each chamber. If a pin is too short, it won’t reach the shear line. If it’s too long, it will prevent the plug from turning. This part requires patience and a bit of trial and error. You’ll be placing the new pins into the plug, one by one, according to the new key’s bitting. Remember to also replace the springs that push the pins down.
Reassembling and Testing the Lock
After you’ve successfully set the pins for your new key, it’s time to put everything back together. Carefully slide the plug, with the new key inserted and pins set, back into the cylinder housing. Make sure it slides in smoothly. Reattach the cam or retainer you removed earlier. It should click or slide back into place, securing the plug. Then, reinsert the cylinder back into the lock body on the door. Replace the retaining clip or screw you removed in the first step. It is important to ensure all parts are securely fastened.
Finally, test the lock thoroughly. Insert your new key and turn it to lock and unlock the door several times. Check that it operates smoothly without any sticking or resistance. Try the old key to confirm it no longer works. If everything functions correctly, you’ve successfully re-keyed your Kwikset lock. If you run into trouble, double-check that the pins are seated correctly and that the cam is properly secured. Sometimes, a quick visit to a locksmith can help if you’re stuck with lock issues.
Rekeying a lock is a cost-effective way to improve security, especially when keys are lost or shared among multiple people. It avoids the expense of replacing the entire lock mechanism.
Want to learn how to change the locks on your Kwikset door? Our easy-to-follow guide breaks down the process step-by-step. You’ll be securing your home like a pro in no time! For more helpful tips and services, visit our website today.
Wrapping Up
So, there you have it. Rekeying a Kwikset lock yourself can seem a bit daunting at first, but as we’ve walked through, it’s totally doable with a little patience. You’ve learned how to take apart the lock, swap out those pins, and put it all back together so your old key won’t work anymore. It’s a pretty satisfying feeling to tackle a home improvement task like this and come out with a working lock and new keys. Just remember to keep track of those tiny pins and springs, and don’t rush the process. If you get stuck, it’s always okay to call in a professional locksmith, but hopefully, this guide gave you the confidence to give it a shot yourself.
Frequently Asked Questions
Why should I consider re-keying my Kwikset lock instead of replacing the whole thing?
Re-keying is a smart move for security because it lets you change the locks without buying a completely new lock. This is super useful if you’ve moved into a new place, if someone lost a key, or if you just want to make sure only certain people can get in. It’s usually cheaper and faster than getting a whole new lock.
What basic tools do I need to re-key a Kwikset lock?
To re-key a Kwikset lock, you’ll typically need a few simple tools. A screwdriver, usually a Phillips head, is essential for taking the lock apart. You’ll also need a special tool called an “e-keying kit” or “re-keying kit” which comes with the new pins and springs. Sometimes, a small pick or tweezers can be helpful for handling the tiny parts inside the lock.
How long does it usually take to re-key a Kwikset lock?
For most people doing it for the first time, re-keying a single Kwikset lock can take about 30 minutes to an hour. If you’re experienced, you might be able to do it much faster. The time it takes can also depend on how complex the lock is and whether you run into any tricky spots during disassembly or reassembly.